The Listmonk delivery tool does not natively offer a field to define the email preview text (preheader). Yet, this text is crucial for increasing open rates. This guide explains how to properly integrate it via HTML code and how to test the rendering using dummy data.
¶ Why use a preheader?
The preheader is the first line of text that appears following the subject line in an email client. Without intervention, email clients display the first textual elements encountered, which can detract from the message’s professionalism.
¶ Technical Implementation
The following code must be inserted at the very beginning of your message, even before the header banner.
¶ HTML Code Structure
<div style="display: none; max-height: 0px; overflow: hidden;">
YOUR_PREVIEW_TEXT_HERE
</div>
<div style="display: none; max-height: 0px; overflow: hidden;">
‌ ‌ ‌ ‌ ‌ ‌ ‌ ‌ ‌ ‌ ‌ ‌ ‌ ‌
</div>
¶ Testing and Metadata Configuration
To validate the preheader rendering and personalization (such as the subscriber’s name), it is essential to use Listmonk’s preview tools.
¶ Campaign Metadata
In the Campaigns tab, ensure you define:
- Subject: The visible subject line to be complemented by your preheader.
- Name: The internal name for your organization.
- Body Type: HTML (mandatory to use the invisible preheader).
¶ Dummy Subscriber Data
To test your personalization tags, go to the Preview tab of your campaign. Listmonk allows you to define a dummy subscriber JSON. This simulates a real profile without sending an email to your database.
Example JSON to use for testing the message:
{
  "email": "test@example.be",
  "name": "Amaury",
  "attributes": {
    "city": "Brussels",
    "interest": "Linux"
  }
}
¶ Locating Tools in the Listmonk Interface
+-------------------------------------------------------------+
|  CAMPAIGN: [ New Wiki Update ]                              |
+-------------------------------------------------------------+
|  Body | [ Preview ] | Settings | Sending                    |
+-------------------------------------------------------------+
|                                                             |
|  [ HTML Rendering Preview ]                                 |
|  +-------------------------------------------------------+  |
|  | (Your email with the banner appears here)             |  |
|  +-------------------------------------------------------+  |
|                                                             |
|  [ Subscriber Metadata (JSON for testing) ]                 |
|  +-------------------------------------------------------+  |
|  | {                                                     |  |
|  |   "name": "Amaury",                                   |  |
|  |   "email": "test@blablalinux.be"                      |  |
|  | }                                                     |  |
|  +-------------------------------------------------------+  |
|                                                             |
|  [ Button: Send a Test ] [ Button: Regenerate ]             |
+-------------------------------------------------------------+
Note: The preheader text will not appear in the Listmonk visual preview (as it is hidden by CSS). To truly validate it, you must click « Send a Test » to your own email address.
¶ Visual Rendering Analysis
Once the email is received, here is how the different elements interact to create a professional presentation:

¶ Rendering Details:
- The Subject (bold): The main title of your campaign.
- The Preheader (grey): The text from your first
<div>tag. It complements the subject to encourage opening. - The Spacer (the empty space after the text): This is where the
‌string works its magic. It creates an invisible « void » that fills the preview line. - Content Masking: Thanks to this spacer, the beginning of the email body (« Salut Natacha… ») is pushed out of the visible preview area.
¶ Best Practices
- Length: Aim for between 40 and 100 characters for the preview text.
- Complementarity: The preheader should complement the email subject, not repeat it.
- Cleanup: Don’t forget the
‌string to prevent the beginning of the email body from « polluting » the preview in the inbox.
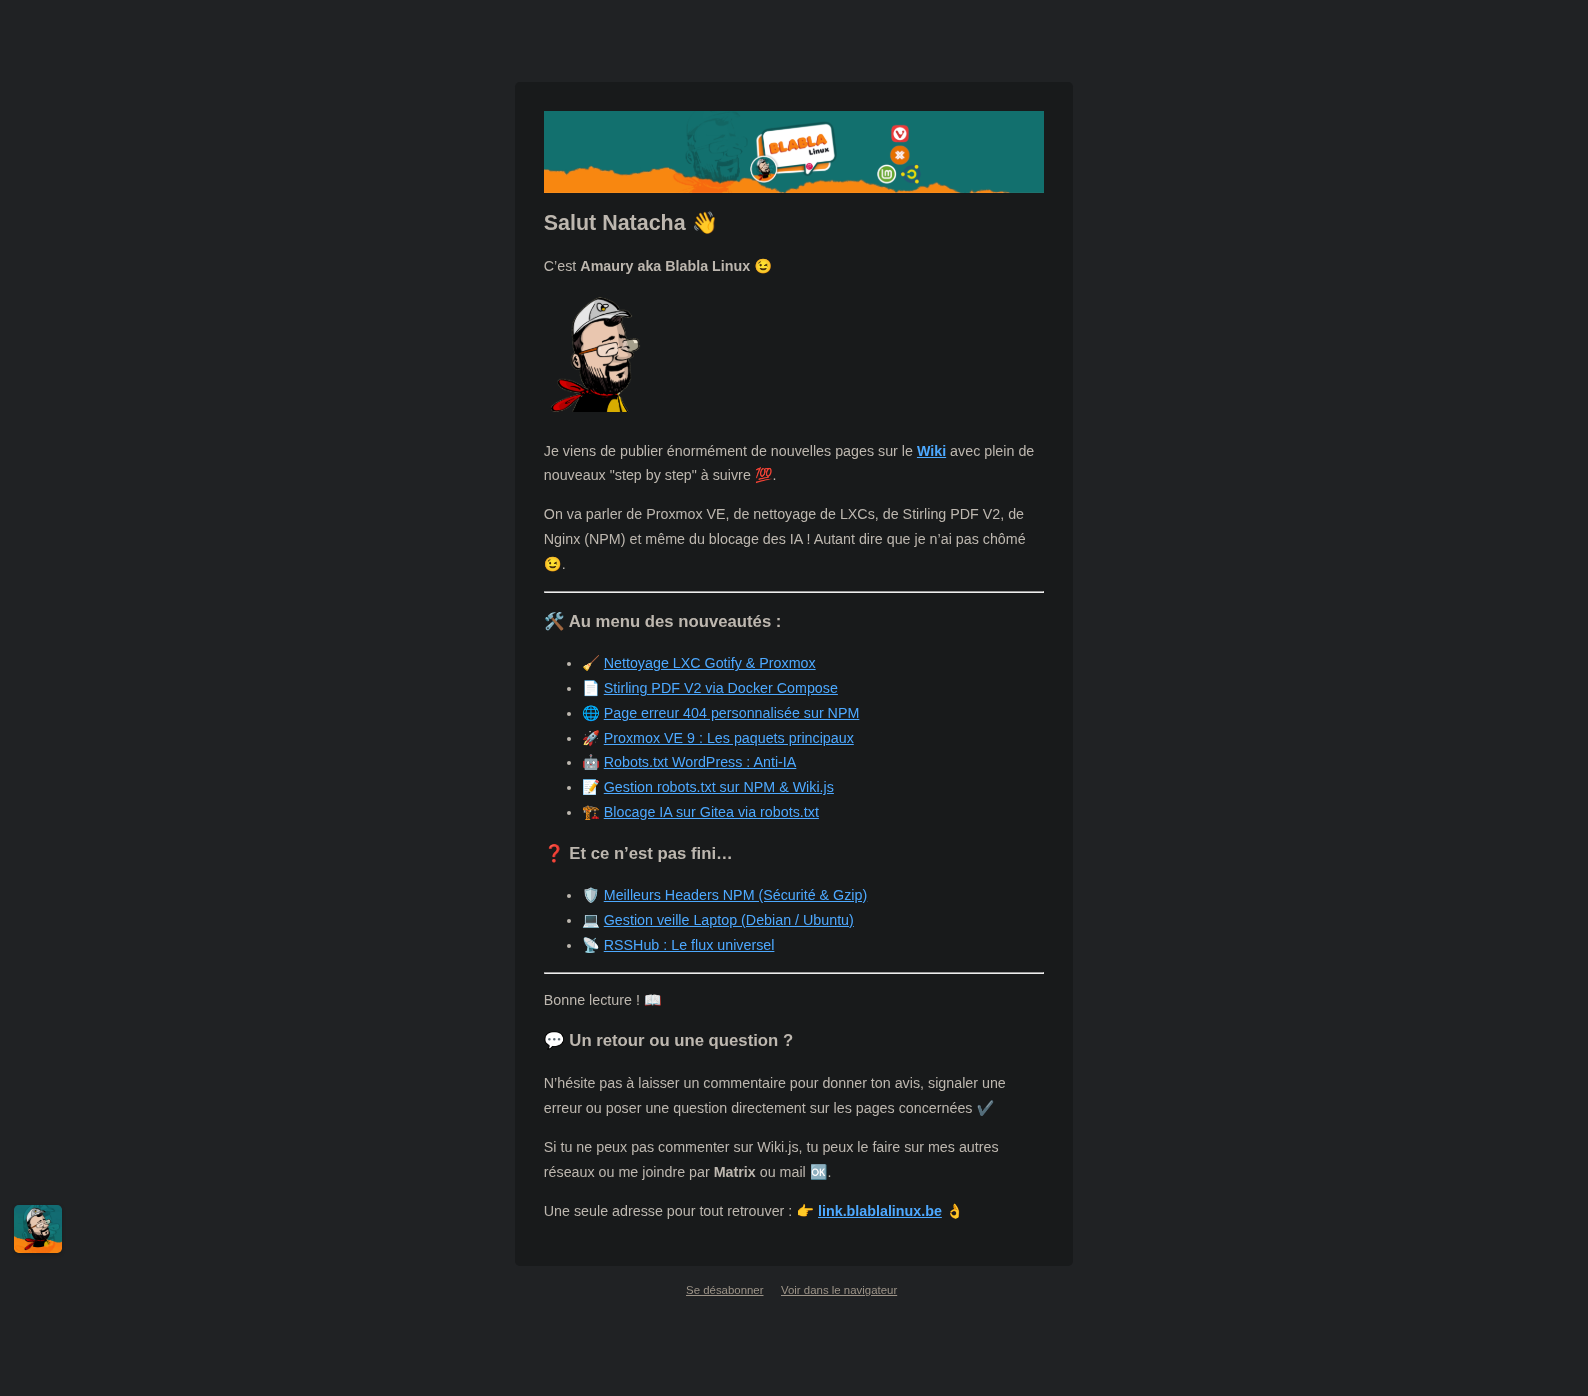
¶ Campaign
Example Listmonk distribution campaign from BlablaLinux, « Wiki » list 👇